Managing type 2 diabetes is about staying one step ahead. The more you understand your blood sugar patterns, the easier it is to make good decisions about food, exercise, and medication. Home blood glucose testing gives you that insight—helping you spot highs, lows, and everything in between.
Traditionally, this meant finger-prick testing with a glucose meter. But today, continuous glucose monitoring (CGM) offers an easier way to track blood sugar in real time.
Why Test at Home?
Checking your blood glucose regularly gives you valuable information to guide daily life:
- Catch issues early – Notice if your blood sugar is too high or too low before it becomes dangerous.
- Understand food effects – See how different meals or snacks impact your levels.
- Check medication effectiveness – Spot when treatment may need adjusting.
- Stay in control – Make more confident choices about eating, moving, and dosing.
💡 Good to know: In New Zealand, blood glucose meters are subsidised for some people. Ask your GP or diabetes nurse if you qualify. If not, a starter kit usually costs around $30–$50.
Getting Started with a Meter
Once you’ve got a glucose meter, learning how to use it is the next step. Support is available through:
- Your practice nurse
- A diabetes nurse educator (highly recommended, as they’ll guide you on when and why to test)
- Some pharmacists
- Occasionally, supplier representatives
Tips for More Comfortable Testing
Finger pricks don’t have to be painful. A few simple tricks can make testing easier:
- Record results in a diary or app—you’ll spot trends faster.
- Use the side of your finger rather than the tip for less discomfort.
- Warm your hands before testing to improve blood flow.
- Lower your hand after pricking to get a good drop of blood.
- Always wash your hands first to avoid false readings from food residue.
How Often Should You Test?
There’s no one-size-fits-all answer—it depends on your situation. Factors include:
- Whether you’re newly diagnosed or long-term
- If you adjust insulin based on results
- Your risk of hypoglycaemia (low blood sugar)
- Whether your diabetes is stable or unstable
- If you’re unwell or taking extra medications
- Your lifestyle and comfort with testing
What matters most is patterns—looking beyond single readings to understand trends. Ask yourself:
- What might have led to this result?
- Do certain times of day show a pattern?
- Could food, timing, or medication adjustments improve things?
Always take your logbook or digital record to appointments. It helps your GP or diabetes nurse see the bigger picture and fine-tune your care.
Meters vs Continuous Glucose Monitors
Traditional meters give useful snapshots, but they can’t capture what happens between tests. That’s where continuous glucose monitors come in.
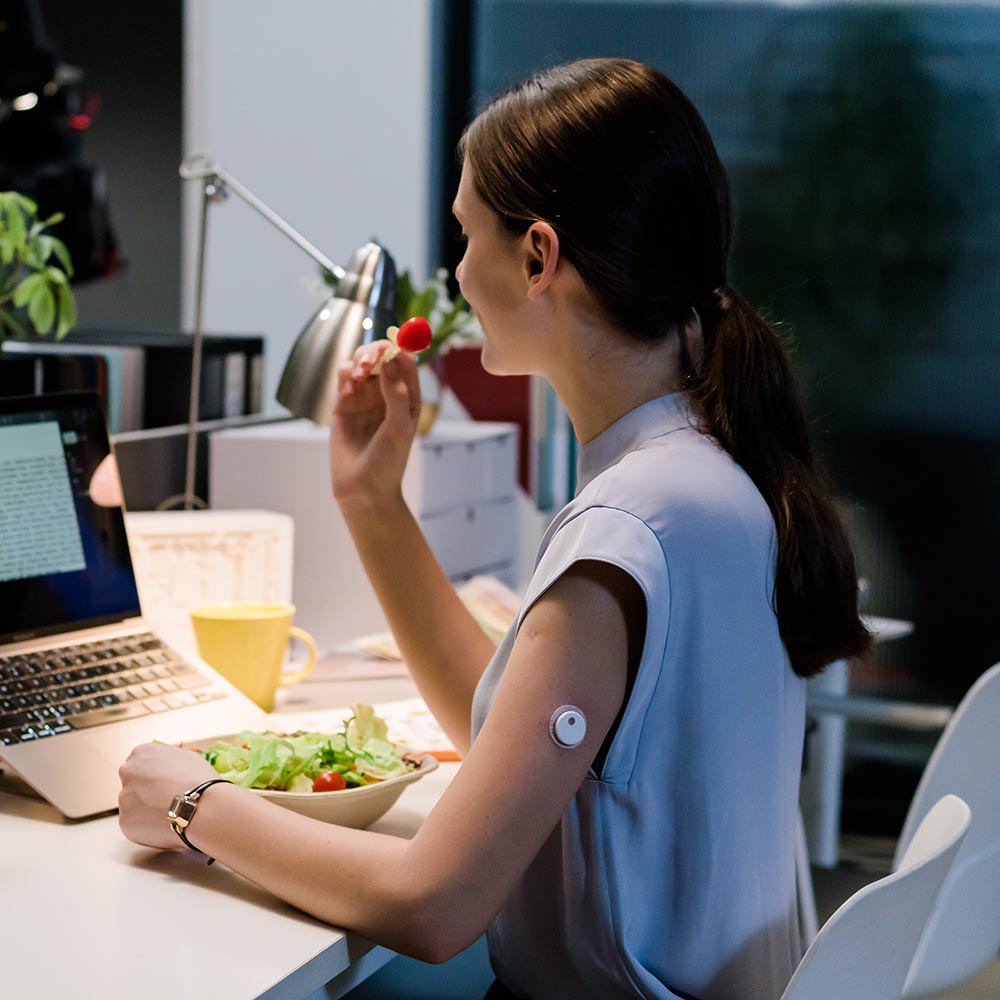
A CGM, like the LinX 15-Day CGM, tracks glucose 24/7. Benefits include:
- Fewer finger pricks
- Real-time readings day and night
- Alerts when levels go too high or too low
- A clearer picture of how food, stress, and activity affect your body
- Reduced risk of complications such as hypoglycaemia or diabetic ketoacidosis (DKA)
For many people with type 2 diabetes, CGMs aren’t just more convenient—they’re empowering.
Final Thoughts
Whether you use a glucose meter or switch to continuous monitoring, consistency is key. The more you track, the more insight you’ll gain—and the more control you’ll have over your health.
Blood glucose testing isn’t just about numbers—it’s about living with confidence and preventing complications.
👉 Want a simpler way to manage your diabetes? The LinX 15-Day CGM gives you continuous, real-time insights so you can take charge of your health every day.
References: Diabetes New Zealand