If you've just unboxed a TENS device — or you're considering one — the most common question is the same: where exactly do the pads go? This guide walks through TENS pad placement for the six body areas New Zealanders most often target at home, using the Pain Relief Stimulator (Nerve Stimulation Therapy TENS Device) as the example. You'll learn the correct electrode positions for lower back pain, neck and shoulder tension, knee pain, hip pain and post-workout muscle recovery — plus which of the four modes to pair with each area for the best result. It's a drug-free, non-invasive approach to pain management, and once you know the basics, you'll be set up in under a minute.
How a wireless TENS device works
TENS stands for Transcutaneous Electrical Nerve Stimulation. It's a therapy widely used by physiotherapists, and it works by sending a gentle electrical current through electrodes placed on the skin. That current stimulates the nerves and helps block pain signals from reaching the brain — which is why TENS therapy is commonly used to help manage certain types of pain by stimulating nerves through the skin. and short-term muscle soreness without medication.
The Pain Relief Stimulator is a wireless TENS device: instead of one control box trailing wires to two pads, it gives you four small wireless units that attach directly to four reusable gel pads. You control all four with a single button on the power base. That matters for placement, because you can cover four points on the body at once — both sides of the lower back, both sides of the neck, a knee and a calf — which a two-pad wired unit simply can't do.
Before you place the pads — quick setup
A clean placement surface makes the difference between a good session and a weak one. Three quick checks:
1. Skin is clean and dry. Wash and dry the area first. Lotions, oils and sweat reduce pad adhesion and dampen the current.
2. Pads are in good condition. The reusable gel pads should feel tacky to the touch. If they've gone dry or lost stickiness, swap them out — replacements are sold separately.
3. Units are charged. Pop the four wireless units onto the power base until the indicators show full charge, then peel and place.
Start with the lowest intensity and work up. The current should feel like a strong, steady tingle — never sharp or burning.
TENS pad placement by body area
Lower back pain
Lower back pain is the most common reason New Zealanders reach for a TENS device, and it's where the four-pad wireless setup really earns its keep.
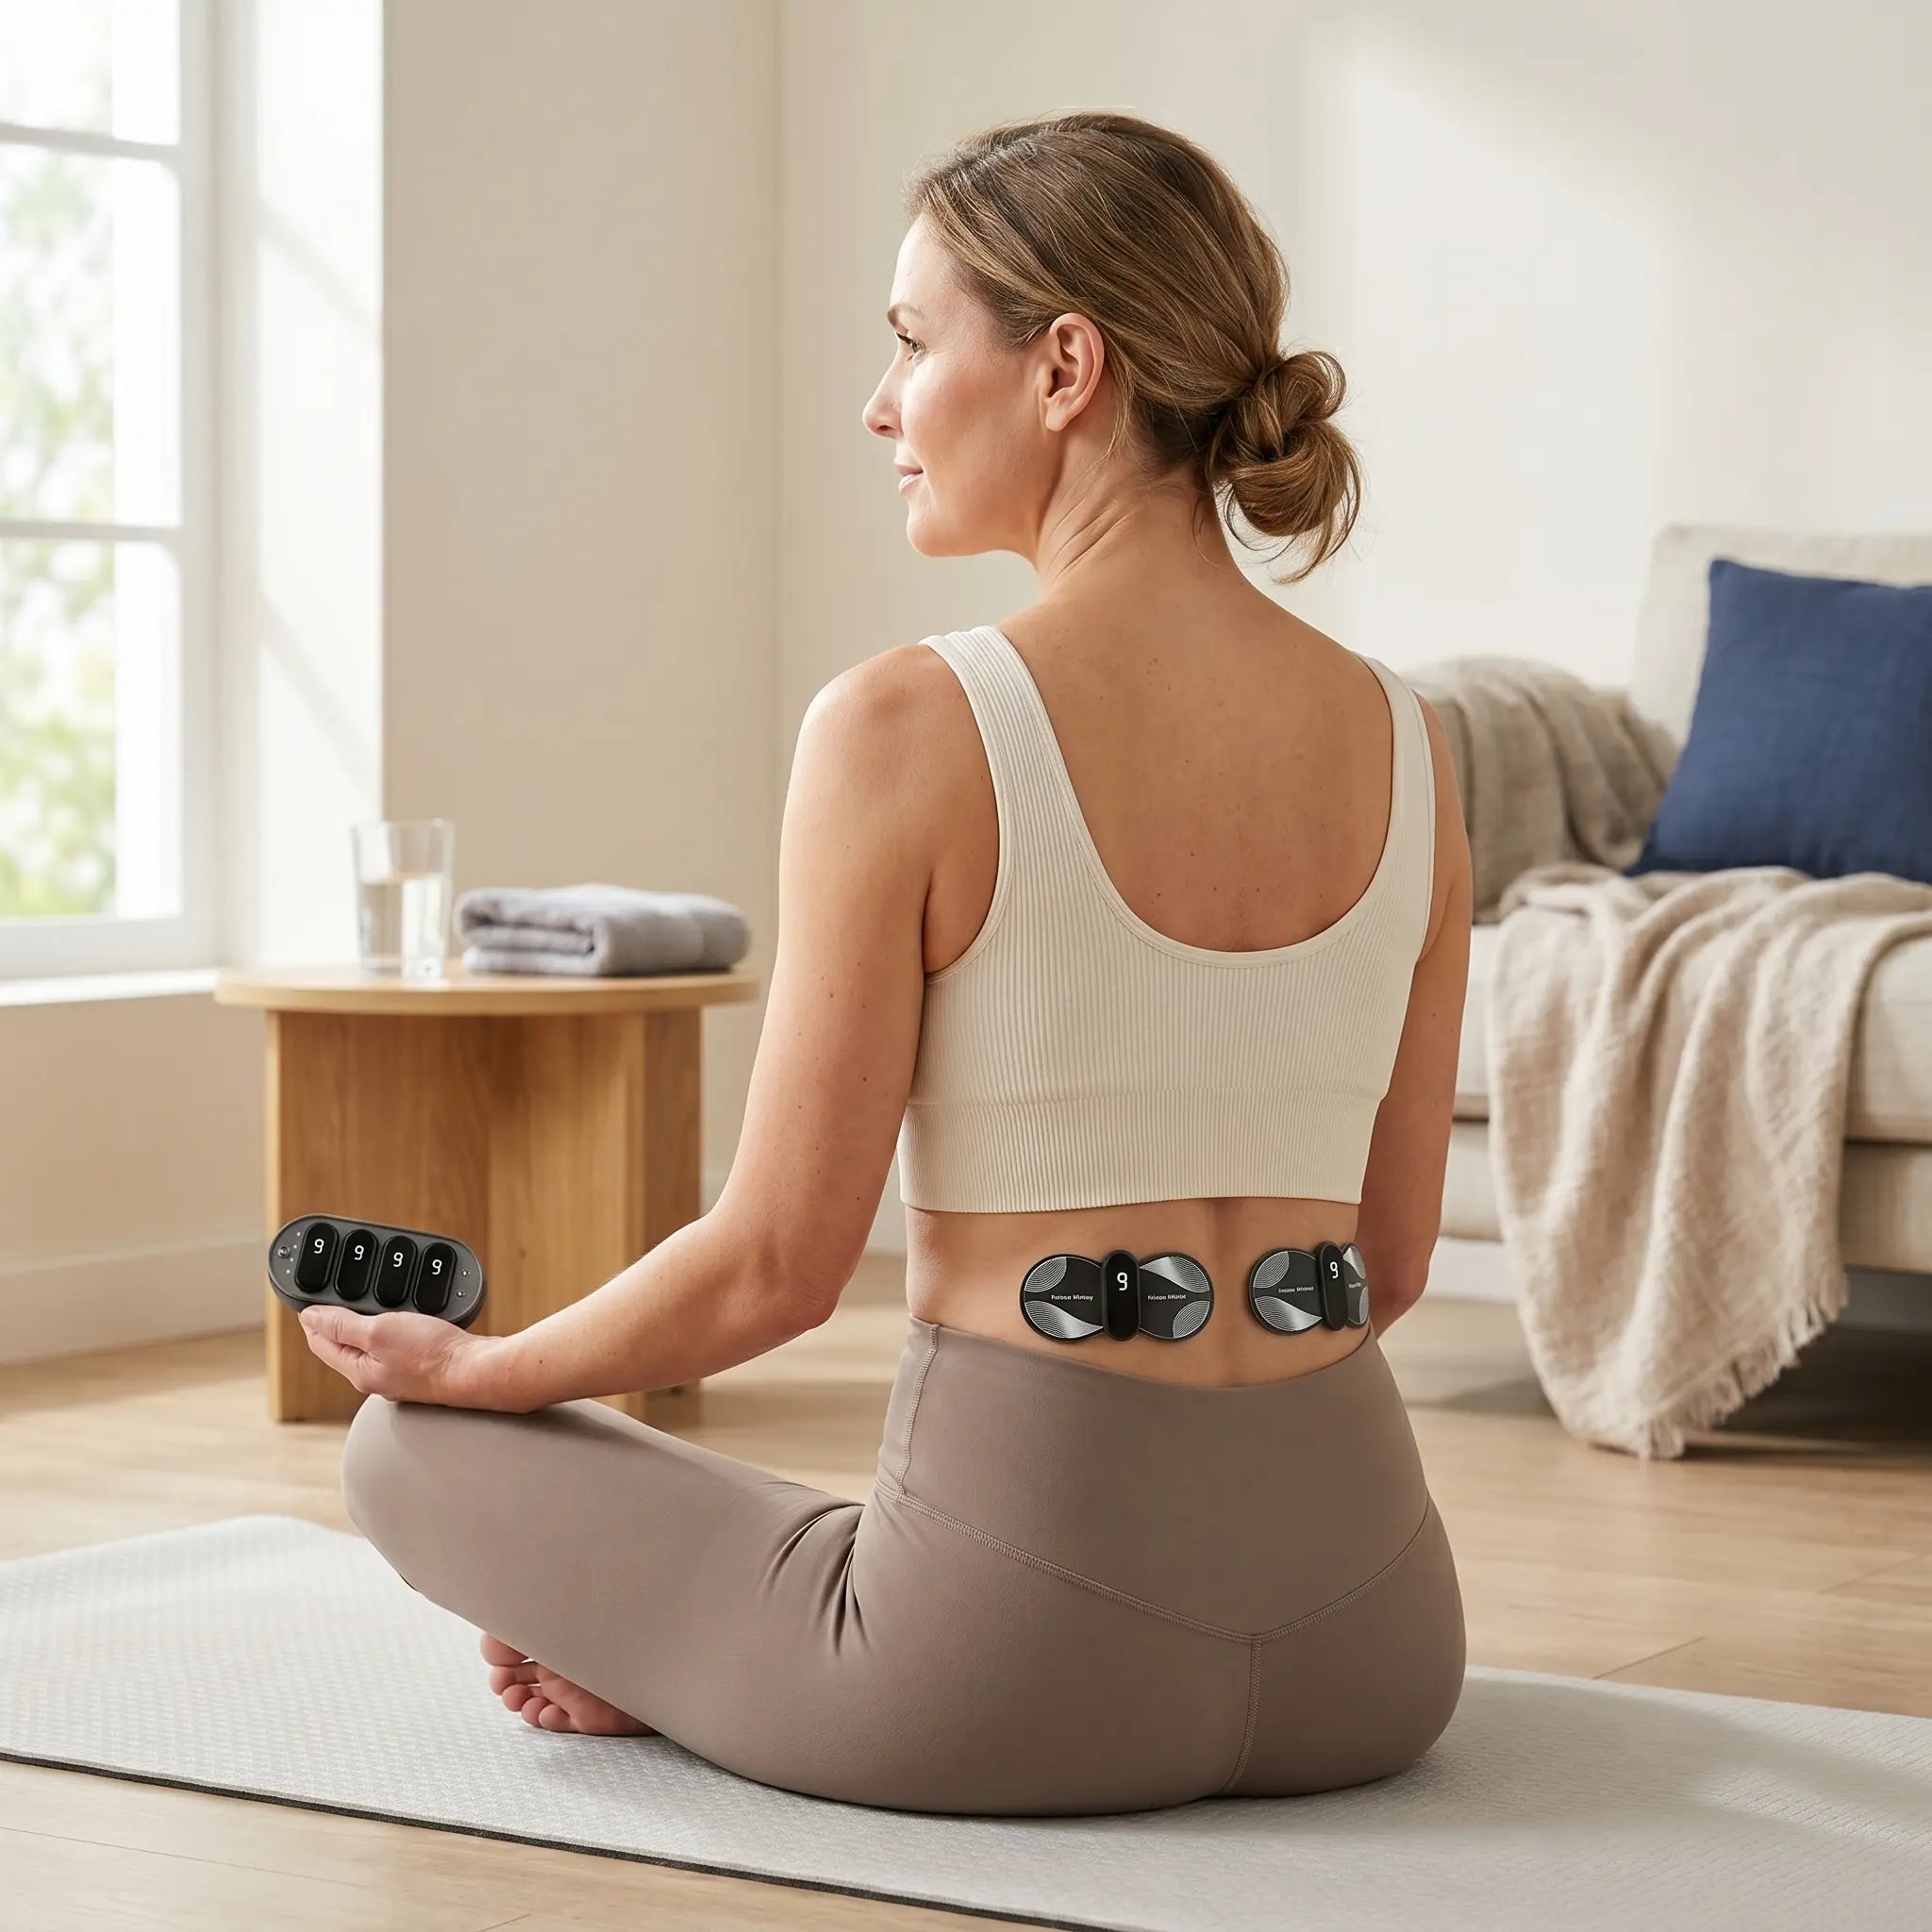
Where to place the pads: Place two pads on either side of the spine at the level of the lower back, roughly horizontal to the top of the hip bones. Place the other two pads a few centimetres above the first pair, also flanking the spine. Never place pads directly on the spine itself.
Recommended mode: Start with Mode 1 — Hybrid for chronic lower back pain, or Mode 2 — Shiatsu if the area feels stiff and you want a deeper, kneading sensation that supports blood circulation.
Session length: 20–30 minutes, up to three times a day.
Neck and upper shoulder tension
The kind of tension that builds during long office hours sits right where the neck meets the shoulders — the upper trapezius.
Where to place the pads: Place two pads on the muscle running from the base of the neck out toward each shoulder — one on the left, one on the right. The other two pads can sit slightly lower, on the upper shoulder blades. Keep all four pads well below the jawline, and never place a pad on the front or sides of the throat.
Recommended mode: Mode 3 — Flapping for a lighter, rhythmic stimulation that reduces tension without overwhelming the area, or Mode 4 — Acupuncture for a calmer, steadier sensation that promotes relaxation.
Session length: 15–20 minutes.
Shoulder blade and mid-back
For the tight band that runs between and around the shoulder blades — common in desk workers, drivers and anyone who carries heavy bags.
Where to place the pads: Place two pads on the muscle running along the inside edge of each shoulder blade, and two more pads on the outer edge of each shoulder blade. You'll need a partner or a mirror to position the rear pads neatly, but the wireless design means there are no cables to fight with once they're on.
Recommended mode: Mode 2 — Shiatsu to provide a deeper massage-like sensation and ease muscle fatigue, or Mode 1 — Hybrid if the goal is muscle recovery after exercise.
Session length: 20 minutes.
Knee pain
TENS can help with the kind of dull, ongoing knee pain that comes from overuse, arthritis or recovery from a soft-tissue injury.
Where to place the pads: Place two pads above the kneecap — one on the inside of the thigh, one on the outside, both just above the patella. Place the other two pads below the kneecap in a mirrored position, one on the inside of the shin, one on the outside. Never place pads directly over the kneecap.
Recommended mode: Mode 4 — Acupuncture for a steady, calming current that supports circulation, or Mode 1 — Hybrid for general muscle pain relief.
Session length: 20–30 minutes.
Hip and glute pain
For deep hip pain, glute tightness or the kind of nagging discomfort that sets in after a long drive.
Where to place the pads: Place two pads on the meatiest part of the glute, one toward the outside (over the side of the hip) and one slightly inward and lower. Place the remaining two pads on the back of the upper thigh, just below where the glute ends. Keep pads on muscle tissue — avoid placing them directly over the hip bone or tailbone.
Recommended mode: Mode 2 — Shiatsu for a deeper sensation, or Mode 1 — Hybrid for general muscle tension.
Session length: 20–30 minutes.
Calf, hamstring and quad — post-workout recovery
This is where TENS shines as a recovery tool rather than a pain blocker.
Where to place the pads: For calves, place one pad on the inner calf and one on the outer calf, on each leg — using all four units across both legs at once. For hamstrings, place two pads on the back of each thigh, one upper and one lower. For quads, same pattern on the front of the thigh.
Recommended mode: Mode 1 — Hybrid is the recovery default — it eases muscle pain and aids muscle recovery in worked areas. Mode 3 — Flapping is a lighter alternative for tired (but not sore) muscles.
Session length: 15–20 minutes per muscle group, ideally within a few hours of training.
Matching the four modes to your pain type
The Pain Relief Stimulator's four modes each deliver a different stimulation pattern. Here's the quick reference:
|
Mode |
What it does |
Best for |
Suggested body areas |
|
1 — Hybrid |
Aids muscle recovery and eases muscle pain |
Post-workout, general muscle pain, chronic stiffness |
Lower back, knee, calves, hamstrings, quads |
|
2 — Shiatsu |
Supports blood circulation and relieves fatigue |
Deep tension, stiffness, tired muscles |
Lower back, shoulder blades, hip and glute |
|
3 — Flapping |
Lighter, rhythmic stimulation that reduces tension |
Office tension, light fatigue, sensitive areas |
Neck and shoulders, calves |
|
4 — Acupuncture |
Calmer, steady stimulation, promotes relaxation |
Joint pain, winding down, nervous tension |
Knees, neck, shoulders |
Switching between modes is a single-button operation, so it's worth trying two or three on the same area to find the one that feels most useful.
Where not to place TENS pads
TENS is generally safe, but the pads should never go on:
• The front or sides of the throat
• Directly over the heart or front of the chest
• On the head, face or temples
• Over broken, irritated or numb skin
• Over a recent surgical scar or directly over implants (pacemakers, metal plates)
• Over the abdomen or lower back during pregnancy (unless guided by a midwife — TENS is commonly used in labour)
If you have a heart condition, epilepsy, are pregnant or have any implanted electronic device, check with your GP before using a TENS device.
Looking after your gel pads
The reusable gel pads are designed for repeated use, but how you treat them between sessions decides how long they last. After each session, press each pad back onto its plastic backing sheet, gel-side down, and store in a cool, dry place. Wipe the gel lightly with a damp finger to refresh stickiness if it starts to drop off. When the pads stop adhering reliably, it's time for a new set — the Premium Replacement Electrode Pads are designed specifically for this device.
Ready to try wireless TENS pain relief at home?
The Pain Relief Stimulator ships with four wireless units, four reusable gel pads, a charging base and a carry case — everything you need to follow this guide. Free shipping on NZ orders over $79.


